
Before I can place this corner correctly in the top layer I must firstly turn up its white sticker. In other words, I must make sure its white sticker is no longer positioned at the bottom of the Rubiks Cube. In order to do this, I must firstly play the move
To enable me to place the corner I play the move
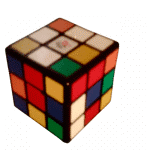
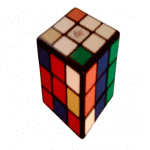
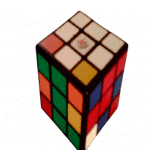
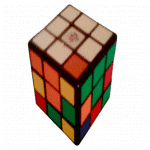
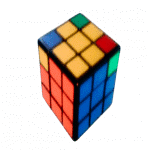
as shown in Diagram 18
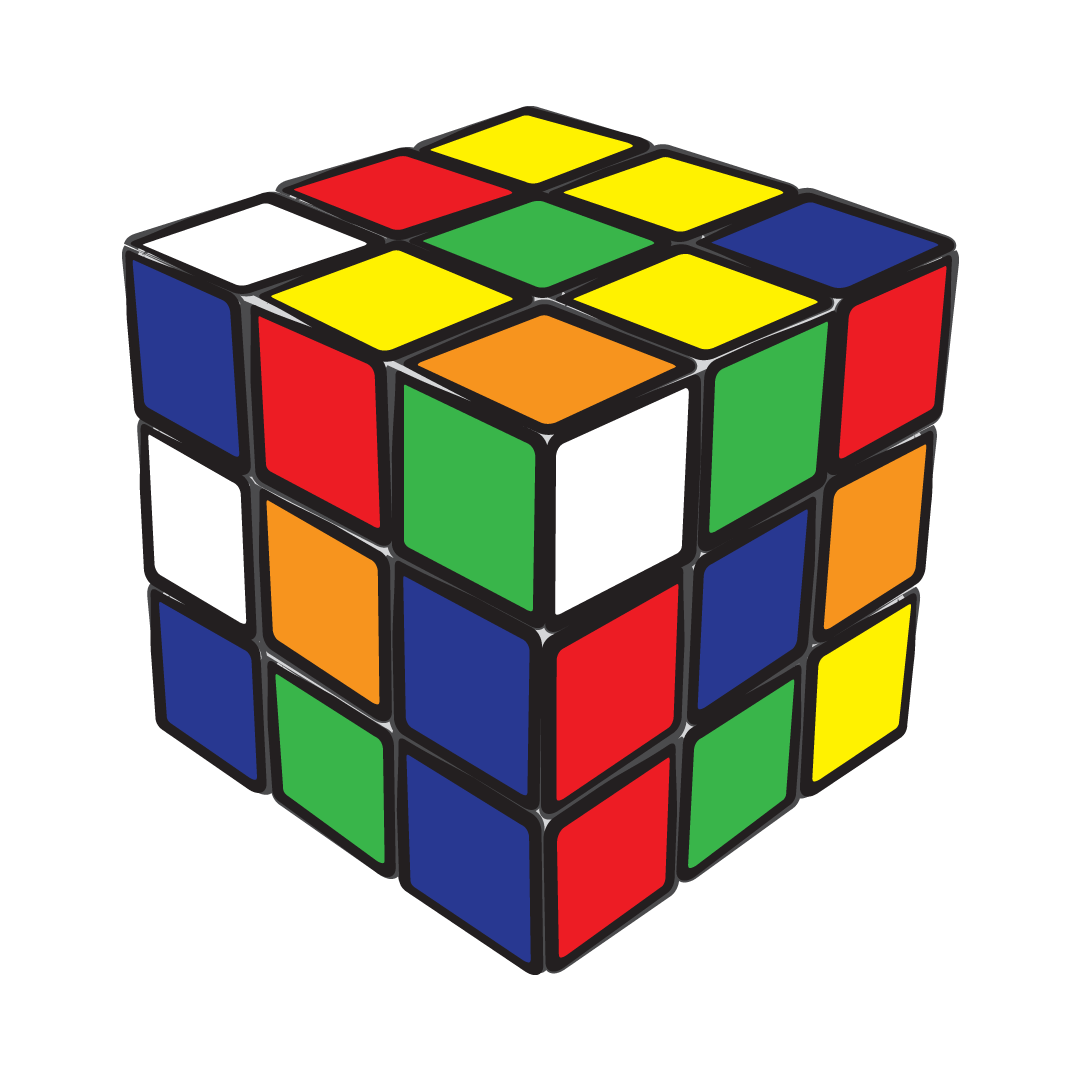
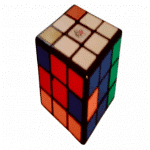
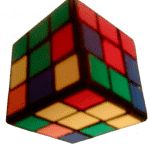
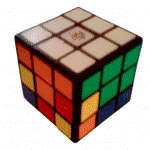
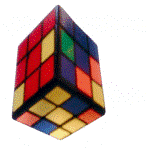
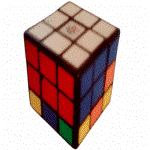
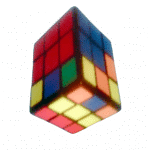
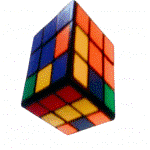
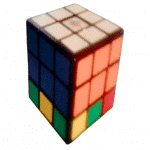
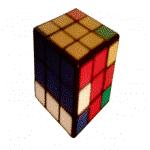
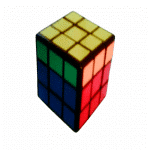
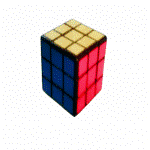
Solve rubiks cube
To join up the corner I play the move
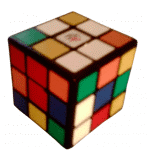
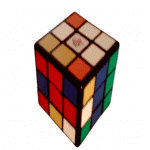
as shown in Diagram 19
I finally turn the white stickers to the top layer by playing the move
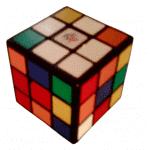
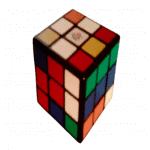
as shown in Diagram 20
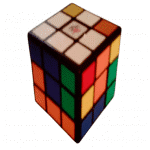
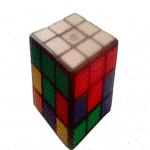
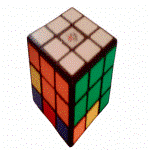
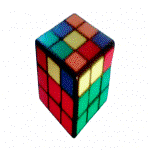
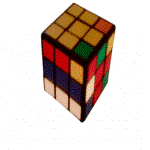
Solve rubiks cube
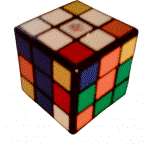
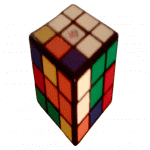
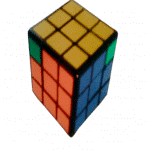
I will now place the red, white and green corner in the top layer. This corner must be placed between the red, white and green centres because they’re the same colours as the corners stickers. Therefore, I must firstly turn the cube around to bring the red and green centres into view as shown in Diagram 21
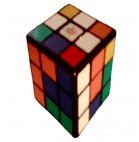
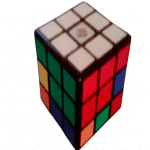
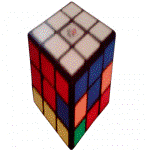
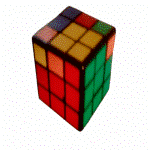
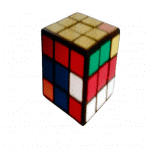
Solve rubiks cube
From the above position below the green centre on the right-hand side you can see the green and white sticker of a corner piece. The sticker on the bottom of this corner is red. Before I can place this corner in the top layer I must first turn down the top corner by playing the move
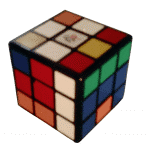
as shown in Diagram 22
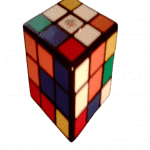
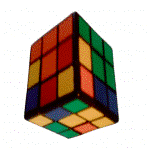
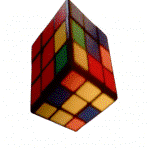
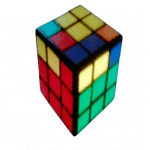
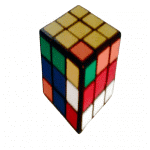
Solve rubiks cube
I can now join up the corner by playing the move
as shown in Diagram 23
Solve rubiks cube
Then lastly, I must bring the white stickers to the top layer by playing the move
as shown in Diagram 24
Solve rubiks
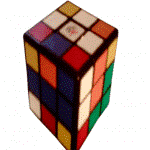
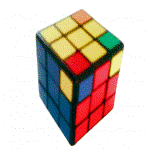
I will now place the last corner in the top layer which is the orange, white and green corner. This corner must be placed between the orange, white and green centers because they’re the same colors as the corners stickers. Therefore, I must firstly turn the cube around to bring the orange and green centers into view as shown in Diagram 25
Solve rubiks cube
From the above position below the green centre on the right-hand side a green corner sticker can be seen. The other sticker colours of this corner piece are orange and white. The white sticker of this corner is on the bottom. I must turn up this bottom white corner sticker before I can correctly place it on the top layer. So firstly, I must place the corner between the orange and green centres by playing the move
as shown in Diagram 26
Solve rubiks cube

I then turn up the corners bottom white sticker by playing the move
as shown in Diagram 27
Solve rubiks cube
In the above position the corners white sticker is now facing upwards but is out of view.
I then bring the corners white sticker into view by playing the move
The corners white sticker is now visible below the green centre on the right-hand side as shown in Diagram 28
Solve rubiks cube
Next I turn the white stickers back to the top layer by playing the move
Solve rubiks cube
I am now able to position up the white stickered corner piece to allow me to place it on the top layer by playing the move
as shown in Diagram 30
Solve rubiks cube
To enable me to join up my white stickered corner in the top layer I play the move
as shown in Diagram 31
Solve rubiks cube
I then join up the corner with the other white stickers by playing the move
as shown in Diagram 32
Solve rubiks cube
Finally, I bring the white stickers to the top layer by playing the move
as shown in Diagram 33
Solve rubiks cube
Now you can see the top layer has been solved your next task is to solve the middle layer.
You need to correctly place 4 edge pieces in order to solve the middle layer. All the white stickers are now on the top layer. All the yellow stickers belong on the bottom layer because that layer has a yellow center.
This means that all the edge pieces in the middle layer can’t have either a white or yellow sticker on them when the cube has been fully solved. Therefore, when I find an edge piece which has neither a white or yellow sticker on it then I know it must belong in the middle layer. A red and green edge sticker can be seen on the bottom as shown in Diagram 34
Solve rubiks cube
This edge must be placed between the red and green centers because they are the same colors as the edges colors. To correctly place the red and green edge in the middle layer I must first correctly position it up.
To do this you must first look at the color at the bottom of the edge piece which is green. This means that I must turn this bottom green edge sticker opposite the green center. To do this I must play the move
Now you can see the bottom green edge sticker is now faced opposite the green centre
as shown in Diagram 35
Solve rubiks cube
Because the edges other colour is red it means that I must now turn the red centre in front of me as shown in Diagram 36
Solve rubiks cube
If the red stickers are the Front of my cube, to now correctly place the red and green edge into the middle layer I must play the moves
L D’ L’ D’ F’ D F= Left clockwise, Downer anticlockwise, Left anticlockwise, Downer anticlockwise, Face anticlockwise, Downer clockwise, Face clockwise.
Now you can see the red and green edge piece is correctly placed in the middle layer as shown in Diagram 37
Solve rubiks cube
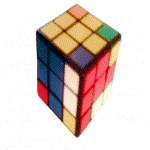
In the next diagram an orange sticker of an edge piece can be seen on the bottom layer positioned opposite the orange center. The other sticker on this edge is green.
Therefore, as I already have the bottom orange edge sticker facing opposite the orange center
I know it is correctly positioned to enable me to place it between the orange and green centre pieces as shown in Diagram 38
Solve rubiks cube
Because this edge with the bottom orange sticker other colour is green it means I must now turn the green centre in front of me as shown in Diagram 39
Solve rubiks cube
If the green stickers are the Front of my cube, to now correctly place the orange and green edge I must keep the green centre in front of me and play the moves
L D’ L’ D’ F’ D F = Left, Downer anticlockwise, Left anticlockwise, Downer anticlockwise, Face anticlockwise, Downer clockwise, Face.
Now you can see the orange and green edge has been correctly placed as shown in Diagram 40
Solve rubiks cube
If you have an incorrectly placed edge piece in the middle layer it must first be taken out in order to be accurately placed. The orange and blue edge is incorrectly placed in the middle layer as shown in Diagram 41
Solve rubiks cube
In order to take out an incorrectly placed edge piece in the middle layer you must keep the incorrect edge at the Front left hand side of your cube. Assuming the blue stickers are my Face then you will see that the orange and blue edge is correctly positioned to be taken out. To now remove this incorrectly placed orange and blue edge I must play the moves
L D’ L’ D’ F’ D F = Left, Downer anticlockwise, Left anticlockwise, Downer anticlockwise, Face anticlockwise, Downer, Face.
You will notice that the incorrectly placed orange and blue edge has now moved from the middle layer to the bottom layer. The orange sticker of this orange and blue edge is out of view but its blue sticker can be seen. Opposite to this blue sticker you can see a red and blue edge piece.
as shown in Diagram 42
Solve rubiks cube
I will decide to firstly place this red and blue edge piece correctly in the middle layer. I then position this red and blue edge piece by turning its bottom blue sticker opposite the blue center by playing the move
as shown in Diagram 43
Solve rubiks cube
This bottom blue sticker is on an edge piece that has a red colour on it which means I must next turn the red centre in front of me. In order to now place the edge piece in the middle layer I must keep this red centre in front of me. Assuming that the red stickers are at the Front of the cube I must now play the moves
R’ D R D F D’ F’ = Right anticlockwise, Downer clockwise, Right clockwise, Downer clockwise, Face clockwise, Downer anticlockwise, Face anticlockwise
You can now see that the red and blue edge has now been correctly placed in the middle layer as shown in Diagram 44
Solve rubiks cube
I will now proceed to place the last edge in the middle layer. This last middle edge piece is the orange and blue stickered edge as shown in Diagram 45
Solve rubiks cube
As you now know that before placing this orange and blue edge piece in the middle layer I must firstly position it up by placing its bottom blue sticker opposite the blue centre. I achieve this by playing the move
I also bring the orange and blue centers into view.
as shown in Diagram 46
Solve rubiks cube
Because the edges other colour is orange it means I must now turn the orange centre in front of me. In order to now place the edge, I must keep the orange centre as my Front and play the moves
L D’ L’ D’ F’ D F = Left clockwise, Downer anticlockwise, Left anticlockwise, Downer anticlockwise, Face anticlockwise, Downer clockwise, Face clockwise.
Now you can see the orange and blue edge has been correctly placed as shown in Diagram 47
Solve rubiks cube
As you can see I have now successfully solved the first 2 layers of the Rubik’s cube. My next goal is to solve the last layer. So, the first thing I need to do is to turn the Rubik’s cube upside down causing the white stickers to be on the bottom and the yellow center on the top as shown in Diagram 48
Solve rubiks cube
When I’m getting my cross I don’t need to worry about whether there are any yellow corner stickers or not on the last layer. I only need to worry about the yellow edge stickers on the last layer.
The first stage of solving the last layer is to get a cross. Because I have a yellow centre on my last layer it means my cross must be a yellow one. This means I need to place all the 4 yellow edge stickers on the last layer which with the yellow centre will form a cross. To get a cross I will need to play either one, two, or three set of moves.
It solely depends on the how many yellow edge stickers I already have on this last layer. You need to learn all the 3 stages.
Solve rubiks cube
Firstly, I will naturally start from a situation where I have no yellow edge stickers on the last layer as is the situation from diagram 48.
In diagram 48 I have the red stickers as my Front and to start to get my cross I must play the moves
F R U R’ U’ F’ = Front clockwise, Right clockwise, Upper clockwise, Right anticlockwise, Upper anticlockwise, Front anticlockwise.
Now you can see I now have 2 yellow edge stickers on the top layer as shown in Diagram 49
Solve rubiks cube
If you imagine that all the last layer edge places are the points of a compass it means I must position these 2 yellow edge stickers in the North-West position before playing the next set of moves to get my cross
as shown in Diagram 50
Solve Rubiks Cube Tutorial
From the above position, I must now play exactly the same moves I played for the first stage for the cross in order to complete this second stage. Therefore, these moves to now play again are
F R U R’ U’ F’ = Front clockwise, Right clockwise, Upper clockwise, Right anticlockwise, Upper anticlockwise, Front anticlockwise.
You can see that I am now left with a yellow line as shown in Diagram 51
I must now correctly position this yellow line before I can play the third stage for my cross. I must position this yellow line in a horizontal position. Remembering Red is my Face it means the yellow line must then be positioned as it is already seen. From here I will play the third stage for my cross which will be exactly the same moves I’ve previously played in the stages for the cross. When I play this third stage of the cross I will finally have the cross. I now play the moves
F R U R’ U’ F’ = Front clockwise, Right clockwise, Upper clockwise, Right anticlockwise, Upper anticlockwise, Front anticlockwise.
You can now see I have the yellow cross as Shown in Diagram 52
Solve rubiks cube
Now that I have the cross I must next match up all the 4-cross edge colours with their centre colours below them. My cross edge colours are the sticker colours at the other side of the yellow edge stickers. You may be lucky enough to find that all the cross edge colours are already matching up with their centre colours below them. You will always have at least 2 cross edge colours that match up with their centre colours below them.
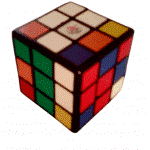
In most cases, you will have 2 cross edge colours that match up with their centre colours below them. Any 2-cross edge colours that match up with their centre colours below them fall into 2 categories. Firstly, these matching edge colours can be opposite colours. For example, the blue and the green cross edge colours or the red and the orange cross edge colours. Secondly these matching edge colours can be near colours. For example like the red and the green cross edge colours as shown in Diagram 53
Solve rubiks cube
You will need to learn how to match up all the cross edge colours in both situations. In order to also match up the blue and orange cross edge colours I must firstly turn the cube around to bring the orange and blue centres into view and I must keep one of the non-matching cross edge colours in front of me and the other one on the right-hand side as shown in Diagram 54
Solve rubiks cube
You can see that I need to swap the orange and blue cross edge colours around for them to match their centre colours below them. I have the orange centre as my Face and the blue cross edge colour is above the orange centre. The orange cross edge colour is on the right. To swap the orange and blue cross edge colours I must play the moves
R U2 R’ U’ R U’ R’ = Right clockwise, Upper twice, Right anticlockwise, Upper anticlockwise, Right clockwise, Upper anticlockwise, Right anticlockwise.
You can now see that all the 4-cross edge colours are now matching their centre colours below them as shown in Diagram 55
Solve rubiks cube
When you have 2 opposite cross edge colours that match their centre colours below them you must play the same moves as you would when you have 2 near cross edge colours that match their centre colours below them. When you have a situation where you have 2 opposite cross edge colours that match their centre colours below them you must hold one of the matching cross edge colours in front of you and play the moves
R U2 R’ U’ R U’ R’ = Right clockwise, Upper twice, Right anticlockwise, Upper anticlockwise, Right clockwise, Upper anticlockwise, Right anticlockwise.
Next you must turn the Upper to match up the cross edge colours with their centre colours below them and you’ll find you’ll have 2 near cross edge colours that match their centre colours below them. You’ll also have two near cross edge colours that don’t match their centre colours below them which need to be swapped. I’ve already taught you how to solve two near cross edge colours that need to be swapped.
My next task is to correctly position all the corners. In diagram 55 you can see that by luck I already have the yellow, orange, and blue stickered corner solved. If you had a red, white and blue stickered corner then you know for it to be correctly placed it must be placed between the red, white and blue centres. There are 3 possibilities concerning the positions of the corner pieces which are
1) No corner piece is correctly positioned
2) One corner piece is correctly positioned
3) All the corner pieces are correctly positioned.
Obviously, you will only need to learn how to position your corners from the first 2 of these points. Before you start positioning the corner pieces you must choose a Face centre colour that must be kept in front of you while you are positioning the corner pieces. When there are no corner pieces in their correct positions you must try to get a corner in the correct position by playing the moves
L’ U R U’ L U R’ = Left anticlockwise, Upper clockwise, Right clockwise, Upper anticlockwise, Left clockwise, Upper clockwise, Right anticlockwise.
You must then turn the Upper to match up all the cross edge colours with their centre colours below them and then check to see if there are any corner pieces in the correct position. You may have a corner piece in the correct position but If there still isn’t a corner piece in the correct position then you must keep the same centre colour in front of you and play the same moves as before which were
L’ U R U’ L U R’ = Left anticlockwise, Upper clockwise, Right clockwise, Upper anticlockwise, Left clockwise, Upper clockwise, Right anticlockwise and you will now definitely have a corner piece in the correct position.
Once you have a corner piece in the correct position you must hold the cube so that this corner piece is
on your Front in the top right hand corner position.
Before I position my corners, I find that in diagram 55 I already have the yellow, orange and blue stickered corner piece already in the correct position. This means I must now hold the cube so that this corner piece is in the Front top right hand corner position and I must keep the orange centre in front of me while I position the rest of the corner pieces. From this position, I must now move the corner pieces by playing the moves
Solve rubiks cube
L’ U R U’ L U R’ = Left anticlockwise, Upper clockwise, Right clockwise, Upper anticlockwise, Left clockwise, Upper clockwise, Right anticlockwise.
I must now turn the Upper to match up all the cross edge colours with their centre colours below them and I find my correctly positioned corner is still in the correct place and the three wrongly positioned corner pieces have moved places but are still in the wrong positions as shown in Diagram 56
Solve rubiks cube
Sometimes you will have all the corner pieces in their correct positions at this stage. Because I still only have the same corner piece in the correct position it means I will have to play exactly the same moves again keeping the orange centre in front of me and the correct corner in the Front top right hand corner position. Once I played these same moves again as
L’ U R U’ L U R’ = Left anticlockwise, Upper clockwise, Right clockwise, Upper anticlockwise, Left clockwise, Upper clockwise, Right anticlockwise.
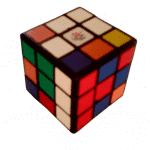
I found that I now had all the 4 corner pieces in their correct positions as shown in Diagram 57

Solve rubiks cube
The next stage will be your final stage to complete the Rubik’s cube. This next stage will be to solve the corners.
Solve rubiks cube
In order to solve these corners, I need to get each corner yellow sticker to the top layer to match up with the rest of the yellow stickers. When each corner piece is solved you’ll notice that the corners other sticker colours also match up with the other same colours on the cube.
You must make sure the yellow centre is kept on top. Before I begin to solve these corners, I need to choose a centre colour to keep in front of me as my Face while I solve all these corners.
Solve rubiks cube
I will choose to keep the blue center in front of me as my Face while I solve all the corners. Every corner must be positioned at the front top right hand corner before solving. I will decide to first solve the red, yellow and blue sticker corner as shown in Diagram 58
Solve rubiks cube
To solve the corners, I only need to keep playing the same 4 moves and then after the fourth move I must check to see if the corner yellow stickers are on the top layer. You will have to play two sets of these 4 moves or four sets of these 4 moves to solve any corner piece.
If I see the corners yellow sticker is on the top layer it means that I must stop because that corner is now solved.
The cube will get a bit messed up while your solving these corners but it doesn’t matter because all the colors will join up once you’ve solved all the corners. I will start solving this corner by playing the moves
R F’ R’ F = Right clockwise, Front anticlockwise, Right anticlockwise, Front clockwise.
I now check to see if the corners yellow sticker is on the top layer and I find it isn’t as shown in Diagram 59
Solve rubiks cube
Because the corners yellow sticker isn’t on the top layer it means I must again play the same 4 moves again which are
R F’ R’ F = Right clockwise, Front anticlockwise, Right anticlockwise, Front clockwise.
I then check to see if the corners yellow sticker is on the top layer and I find that it now is as shown in Diagram 60
Solve rubiks cube
This means this corner is now solved. I then now keep the same blue centre in front of me as my Face and then turn the Upper to bring any next unsolved corner to the front top right hand corner position to be solved as shown in Diagram 61
From this position, I then played the same 4 moves to solve this corner which are
Solve rubiks cube
From the above position, I then made sure I kept the blue centre in front of me and turned the Upper to bring the next and last unsolved corner to the front top right hand corner position to be solved as shown in Diagram 63
Solve rubiks cube
I then played the 4 moves to solve this corner which are R F’ R’ F = Right clockwise, Front anticlockwise, Right anticlockwise, Front clockwise.
I then checked for the corners yellow sticker and I found it wasn’t on the top layer and so I played the same 4 moves again as
R F’ R’ F = Right clockwise, Front anticlockwise, Right anticlockwise, Front clockwise
and I found the corners yellow sticker was now on the top layer as shown in Diagram 64
Solve Rubiks cube
Now all the corners are solved you can notice how all the last layer edge colours are all matching up. It looks beautiful. All you need to do now is to fully solve the cube by playing the move
U2 = Upper side two turns
You have now solved the Rubik’s cube
Solve rubiks cube
Now you have learnt to solve the 3×3 Rubik’s Cube you may like to learn the 4×4 Rubik’s Cube tutorial below.
THE 4X4 CUBE AS AN EXTRA LAYER THAN THE 3X3 RUBIK’S CUBE THEREFORE THE NOTATION WILL BE DIFFERENT. A CAPITAL LETTER THAT IS FOLLOWED BY A w MEANS A WIDE OR DOUBLE LAYER TURN OF THAT SIDE.
FOR EXAMPLE Rw MEANS A MOVE OF BOTH THE FILES ON THE RIGHT. SIMILARLY Lw WOULD MEAN A MOVE OF BOTH THE FILES ON THE LEFT HAND SIDE OF THE CUBE.
Solve rubiks cube
A SMALL LETTER MEANS AN INNER SLICE MOVE OF THE CUBE. FOR EXAMPLE IF YOU SAW r THEN THIS WOULD MEAN TO MOVE ONLY THE RIGHT FILE ON THE INNER SIDE OF THE CUBE.
SIMILARLY IF YOU SAW l THEN THIS WOULD MEAN TO MOVE ONLY THE LEFT FILE ON THE INNER SIDE OF THE CUBE.
THIS NOTATION WILL BE THE SAME FOR THE FRONT, BACK, UPPER AND DOWNER SIDES OF THE CUBE.
F = MOVING THE FRONT FILE ONLY
F w = MOVING THE 2 FRONT FILES
B = MOVING THE BACK FILE ONLY
B w = MOVING THE 2 BACK FILES
U = MOVING THE UPPER FILE ONLY
U w = MOVING THE 2 UPPER FILES
D = MOVING THE DOWNER FILE ONLY
D w = MOVING THE 2 DOWNER FILES
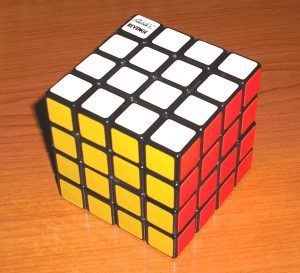
4 x 4 RUBIK’S CUBE TUTORIAL
Bring a white centre next to another centre causing them to align up straight. The first 2 centres should be joined straight and not diagonally.
You must pair up 2 edge pieces that are the same colours. In order to join these edges up correctly they must first be placed diagonally or opposite to each other. Sometimes the 2 edges can be joined straight away by moving one straight across to the other. Pair the edges up on the front face. When 2 edeges are opposite to each other you pair them up by playing
L’ R U F U’ L
Solve rubiks cube
Then you’ll notice that the 2 edges will now be diagonal to each other.You now just bring one edge across to match up with the other edge.
When you have 2 pairs of edges that are diagonal to each other you must play
R U R’ U’ F’ U F
Now the 2 pairs of edges will be opposite to each other.
You must now play
Dd R F’ U R’ F Dd
To solve these 2 pair of edges.
Next of , shift all the edge pieces that have a white sticker, to the top of the Cube to form a white cross.
Next, turn the Cube upside down with the white cross on the bottom.
Find a white corner and place the corner opposite to its correct position. If the corners white sticker is facing you then play , the moves
U’ R U’ R’ U2 R U’ R’
You will now see this corner piece has been solved. Remember whilst you’re solving these white corners, the yellow centres will be on top.
To get the next white corners into position you must move edges without yellow stickers on them.
To solve a corner piece that has the white sticker facing upwards you must play
R U R’ U’ R U R’ U’ R U R’
And you’ll see that the white stickered corner is now solved.
Solve rubiks cube
If the white stickered corner piece, has the sticker at the side of the Cube then you must play with the white corner placed at the bottom of the Cube. You then play the moves
R U2 R U R’ U R U2 R2
The white stickered corner will now be solved.
This above situation is when the white corner sticker is facing right and is positioned in the correct corner where it needs to be solved at the bottom.
Solve rubiks cube
If a white sticker corner is in the top corner with the white sticker facing to the right, and it needs to be placed with the white stickers in the bottom layer you must play
Dw = moving the first 3 rows clockwise and then play
R’ U R U2 R’ U R
Now your corner will be solved.
Solve rubiks cube
Interested in writing your own Rubik’s Cube Tutorials?
If you are interested in making a good tutorial then here’s some excellent advice on how to succeed. I will now list the major steps to make a successful tutorial.
Solve rubiks cube